Hardwood floor refinishing is one of those home projects that sounds intimidating until you actually break it down. This guide covers everything about hardwood floor refinishing. The article will also mention the mistakes that could turn a short project into a costly repair job.
How to Tell If Your Floor Needs Refinishing
First of all, it’s crucial to understand the difference between a floor that only needs a recoat and proper cleaning and the floor that’s screaming for a refinishing.
Water Test
Drop a few beads of water onto a high-traffic spot. Watch what happens:
- Water beads and rolls off—your finish is still doing its job. No refinishing needed.
- Water sits for a minute before absorbing—the finish is thinning. Plan a recoat within the next year.
- Water soaks in immediately and darkens the wood—the seal is gone. Moisture is getting into the fibers. Refinishing should happen soon.
This test takes 60 seconds and tells you more than visually inspecting the floor ever will.
Visual Signs
Your floors will usually tell you what’s wrong before you think to look. Here’s when a full refinish is needed:
- Scratches that catch your fingernail.
- Discoloration under rugs.
- Gray or black patches.
- Rough, splintery texture underfoot.
- Peeling or bubbling polyurethane.
Dullness alone doesn’t mean refinishing. If the floor looks flat but passes the water test, a recoat every few years should be enough.
Cost Comparison: Professional vs. DIY
Professional Charge
Industry data is consistent here. According to Angi and Hallmark Floors, professional hardwood floor refinishing runs $3 to $8 per square foot nationally, with the average project landing around $1,800 to $1,900. Dustless refinishing—which uses commercial-grade vacuum systems to contain the mess—pushes that range to $5 to $8 per square foot.
Here’s what that looks like by project size:
| Area | Estimated Professional Cost |
| 250 sq ft (bedroom) | $750–$2,000 |
| 400 sq ft (large room) | $1,200–$3,200 |
| 1,000 sq ft (main floor) | $3,000–$8,000 |
Labor makes up roughly 80% of the total bill. If your floors need repairs before refinishing—warped boards, deep water damage—that adds another $482 to $1,708 depending on extent, per HomeAdvisor data.
DIY Cost
The DIY total for most projects falls between $500 and $1,000, according to The Spruce’s cost analysis. Here’s where the money goes:
- Drum or orbital sander rental: $40–$60/day or $160–$270/week
- Edge sander rental: typically bundled with the drum sander at most rental shops
- Polyurethane finish: $165–$360 depending on coverage and brand
- Stain (optional): $20–$120 per gallon
- Sandpaper and belts: ~$140
- Applicators, rollers, painter’s tape: ~$125
- Safety equipment and cleaning supplies: ~$150
One underestimated expense: rental time. Most beginners assume a two-day weekend project, then discover the floor took longer to sand properly and the rental stretches to four or five days. Weekly rental rates offer better value if your schedule is flexible.
What You Will Need
Tools
- Drum sander.
- Edge sander.
- Palm or detail sander.
- Shop vacuum + dust containment.
- Buffer/polisher.
Finishing Materials
- Polyurethane (water-based or oil-based).
- Wood stain.
- Wood filler.
- Tack cloths.
- Foam applicator pads and lambswool rollers.
Safety Gear
Wood dust from sanding is classified as a known carcinogen. Polyurethane fumes are toxic and flammable.
- Respirator with appropriate filters.
- Safety goggles.
- Ear protection.
- Work gloves, long sleeves, long pants.
- Knee pads.
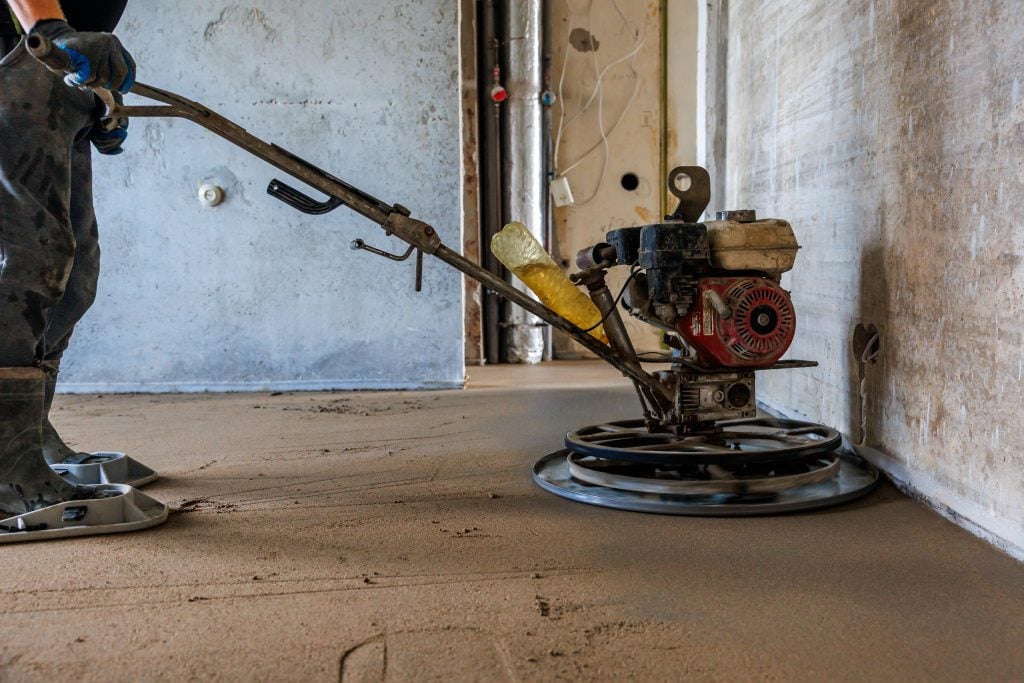
Sanding and Refinishing Hardwood Floors
Step 1: Preparation
Empty the room—remove furniture, rugs and curtains. Seal air vents, doorways, and light fixture gaps with heavy plastic sheeting and painter’s tape. Open windows in the work area and position a fan to exhaust air outward.
Step 2: Coarse Grit (36–40)
Load the drum sander with 36-grit paper. Before dropping the drum onto the floor, get the machine moving forward. Lower it while walking, never while standing still.
Make your first passes at a 45-degree angle to the floorboards—this removes the old finish faster than going straight with the grain. Follow with passes parallel to the boards. Keep your pace steady. Stopping = gouge. This stage typically takes 2 to 3 passes to strip down to bare wood.
Test a 4×4-foot section first. If bare wood is showing and the surface feels clean, your grit progression is 36, 60, 80.
Step 3: Medium Grit (60)
This stage removes the scratches left by the 36-grit paper and smooths out the raised wood grain. Always move with the grain on this pass. Overlap each strip by 2 to 4 inches to avoid lines. Two to three passes is standard.
Step 4: Fine Grit (80–100)
The finishing sanding pass. Use 80-grit for most floors; 100-grit if you’re after an especially smooth surface. Lighter pressure, slower pace. At least two overlapping passes.
Step 5: Edges and Corners
Run the edge sander around the room’s perimeter using the same grit progression: 60-grit, then 80-grit, then 110-grit. Keep it moving—edge sanders dig if you pause. Use a palm sander for corners, working through 80, 110, and finishing with 220-grit to blend with the main floor.
Step 6: Dust Removal
This step is where a lot of DIY refinishes go sideways. Vacuum the entire floor multiple times. Then wipe the whole surface with tack cloths. Then vacuum again. Any dust particle that remains becomes a bump under your finish coat. This is not a step to rush.
Staining and Finishing
Water-Based vs. Oil-Based Polyurethane
Water-based:
- Dries clear, won’t yellow over time.
- Dries in 2–4 hours between coats.
- Lower odor, fewer VOCs.
- Requires 3–4 coats.
- Better choice for light-colored woods like maple or ash.
Oil-based:
- Adds a warm amber tone that deepens with age.
- 8–12 hours between coats.
- Strong fumes—proper ventilation is critical, and oil-based finish near open flames is a fire risk.
- 2–3 coats are typically enough.
- More durable long-term under heavy traffic.
Neither is universally better. Light floors in a room you want to keep bright? Use water-based products. Dark floors or a rustic aesthetic? Go with oil-based polyurethane.
Applying the Finish
Apply thin, even coats. Work with the grain, moving from the far corner back toward the door so you don’t paint yourself in.
Between coats, lightly sand with 220-grit paper to knock down any dust nibs or raised grain. Vacuum, then wipe with tack cloth. For water-based finishes, two coats can be applied in a single day; never more than two per day. Oil-based should have one coat per day maximum.
Drying vs. Curing
The floor feels dry long before it’s actually cured. These are different things:
- Water-based: walk on it in socks after 12–24 hours; light furniture after 48 hours; fully cured in 7–14 days.
- Oil-based: walk carefully after 24–48 hours; furniture after 3–4 days; fully cured in 30 days.
The Mistakes That Ruin DIY Refinishes
Sanding against the grain on final passes—diagonal passes during the rough sand are fine. But your 80-grit final pass must follow the grain. Cross-grain scratches are visible under stain and finish.
Jumping grits—going from 36 directly to 80 leaves scratches the finer paper can’t remove. Each grit removes the scratches from the one before it. Skip a step and those scratches show up in your finish.
Inadequate dust removal—dust left on the floor means bumps in your finish coat. No shortcut here.
No ventilation during finishing—trapped solvent fumes affect how the finish cures, creating premature dullness and wear. They’re also a fire hazard with oil-based products.
Walking on the floor too soon—water-based finish allows careful foot traffic after 12–24 hours, oil-based after 24–48. But neither is furniture-ready for days afterward, and neither is fully cured for weeks.
Conclusion
The DIY savings on hardwood floor refinishing are real—$2,000 to $7,000 on a typical main-floor project. The process is learnable. The equipment is rentable. The results, when done properly, are indistinguishable from professional work.
What separates a good outcome from a disaster is almost always patience. The sanding sequence is mechanical once you understand what each stage is doing. The finishing is mostly about thin coats and waiting.
Take your time, respect the drying windows, and you’ll end up with floors that look better than they have in years—and a few thousand dollars still in your bank account.