Window sill rot is easy to ignore until it isn’t. By the time the surface looks obviously damaged, decay has usually been working through the wood from the inside for months. Left alone, it spreads into the jambs, frame, and surrounding trim—at which point the repair goes from a Saturday afternoon project to a full window replacement.
Repair or Replace? How to Assess the Damage
The right call depends on how far the rot has spread. Probe suspected areas with a sharp knife or metal skewer—soft, spongy resistance means active decay. For deeper assessment, drill 1/8-inch holes about an inch apart and note how far the tool goes before hitting solid wood. That depth tells you what you’re dealing with.
Check moisture content before you do anything else. Wood needs to be at or below 17% moisture for epoxy consolidants to penetrate and bond properly. A basic pin-type moisture meter costs $20–$40 and removes the guesswork.
When epoxy repair works
- Rot is localized—a soft spot or damaged section, not the full sill.
- The sill is still structurally sound in most of its length.
- Damage hasn’t reached the jambs, bottom rail, or rough sill underneath.
- No drafts around a closed window and no fogging between double panes.
When full replacement is necessary
- Rot runs the full length of the sill front.
- The jambs or bottom rail are also affected.
- The window sticks, won’t stay open, or shows the frame pulling away from the wall.
- Moisture has reached wall cavities or interior finishes.
If repair costs start approaching replacement costs, a new window is the better investment. Patches over structurally compromised wood rarely hold—moisture finds its way back in.
What Actually Causes Window Sill Rot
Water is always the root cause, but it gets in through several different paths:
- Cracked or missing caulk—gaps where the sill meets the frame or siding let water in directly. Exterior caulk lasts about 5 years before it starts to fail.
- Blocked weep holes—storm windows have weep holes along the bottom specifically to drain trapped water. When they clog with debris, water sits against the wood.
- Aluminum-clad windows—aluminum conducts heat and causes the interior wood to expand and contract daily. Over time, seams split between the cladding and wood, and water gets in behind the aluminum where you can’t see it.
- Condensation—warm interior air hitting cold glass surfaces deposits moisture on the sill repeatedly. Kitchens and bathrooms are the worst for this.
- Poor drainage—ground that slopes toward the foundation or standing water near the sill keeps the wood perpetually damp.
Materials: Two-Part Epoxy vs. Standard Wood Filler
This is where most DIY repairs fail. Standard wood putty—the kind sold in small tubes at hardware stores—shrinks as it cures, doesn’t bond chemically with wood, and absorbs moisture. On an exterior application, it fails within a season or two.
Two-part epoxy systems cure into a waterproof, structural material that becomes part of the sill. The repair ends up harder than the surrounding wood.
| Feature | Two-Part Epoxy | Standard Wood Filler |
| Durability | Cures to a hard, waterproof solid with structural strength | Dries but shrinks and cracks—non-structural |
| Adhesion | Chemically bonds with wood fibers | Surface adhesion only, no chemical bond |
| Moisture resistance | Fully waterproof once cured | Absorbs moisture, swells, and fails |
| Shrinkage | Cures without shrinkage | Shrinks during curing, leaves gaps |
| Best use | Structural repairs, all exterior applications | Minor cosmetic flaws, interior holes only |
Recommended products
Abatron LiquidWood and WoodEpox are the benchmark for this type of repair—LiquidWood as a liquid consolidant that penetrates and strengthens rotted fibers, WoodEpox as the paste filler that goes on top. West System epoxy works well for larger projects and is more economical by the gallon. PC-Petrifier wood hardener paired with PC-Woody epoxy is another reliable combination.
For safety: two-part epoxies and consolidants produce fumes and require chemical-resistant gloves and a NIOSH-approved respirator, not a standard dust mask. Work in ventilated conditions.
Step-by-Step Repair Process
Step 1—Remove all rotted wood
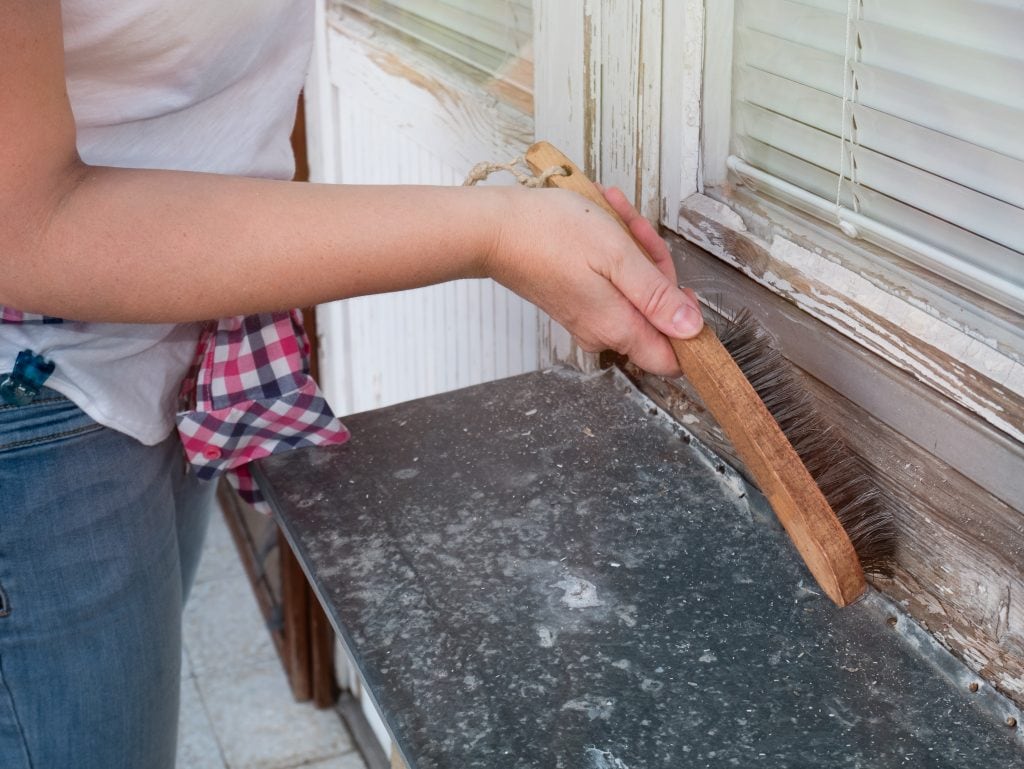
Scrape away all paint and caulk from the damaged section first. Use an oscillating multi-tool with a wood-cutting blade or a sharp chisel to dig out every soft, spongy section until only firm wood remains. Cut cleanly at the damage edge. Excavate at least an inch past the last visible trace of rot—decay travels through wood grain and what looks clean at the surface often isn’t a fraction of an inch in.
Step 2—Dry the wood
Don’t repair wet wood. Wood moisture content needs to be at or below 17% before applying consolidant. If the wood is damp, give it time to dry—avoid repairs when rain or dew is forecast. Drill 1/8-inch holes about an inch apart in the excavated area, angled downward, to give the consolidant channels to penetrate through.
Step 3—Apply wood consolidant
Mix the two-part consolidant per manufacturer instructions. Brush it liberally onto all exposed wood surfaces and keep the surface wet for at least 10 minutes—the wood should visibly absorb it. For the drilled holes, use a plastic syringe to inject consolidant directly, working from deep to shallow as you pull out. Apply multiple coats as the wood drinks it in. Allow full cure—typically 8–12 hours depending on temperature and product.
Step 4—Fill with two-part epoxy
Mix the epoxy filler in small batches—it becomes unworkable within 5–10 minutes. Press it firmly into the void with a stiff putty knife, working out any air pockets. Overfill slightly above the surrounding surface. Cold weather slows the cure; heat speeds it. In cooler temperatures, a heat lamp directed at the repair area helps.
Step 5—Shape and sand
After a full 24-hour cure, chisel off the bulk of the overfill. Shape with 80-grit sandpaper, then finish with 100 or 120-grit. Plane or sand any high spots flush with the surrounding sill.
Step 6—Prime and paint
Apply one coat of exterior-grade oil-based or high-quality acrylic primer. Fill any remaining minor surface scratches with painter’s putty, sand smooth, then finish with at least two coats of premium exterior acrylic latex paint. The paint layer is what protects the repair from the same conditions that caused the original rot.
Mistakes That Cause Repairs to Fail
Using standard wood putty
It dries on the surface without bonding to the wood fibers underneath. On exterior applications exposed to moisture and temperature swings, it cracks and separates within a year. Two-part epoxy is the only appropriate material for structural exterior repairs.
Leaving rotted wood behind
Any compromised fiber left under the new filler continues to decay. The repair looks fine on the surface while rot works outward underneath it. Excavate past where the damage is visible, not just to it.
Repairing wet wood
Epoxy applied to wood above 17% moisture content won’t bond properly. The moisture trapped underneath continues to degrade the wood and the repair fails from the inside. Check with a meter before you start, not after.
Painting over failed caulk
Paint bridges small caulk gaps temporarily but doesn’t seal them. Water continues to enter at the joint, accumulates behind the paint film, and the rot cycle restarts. Remove the old caulk completely and apply fresh 100% silicone or advanced polymer caulk before painting.
Preventing Rot From Coming Back
Install or replace drip caps
A drip cap above the window—a metal flashing that sits above the unit and overlaps the housewrap—redirects water away from the frame before it reaches the sill. The wall leg should be 4–5 inches tall with a 15-degree slope on top; the drip leg needs at least 3/4 inch with a slight outward kick at the bottom.
Recaulk annually
Exterior caulk lasts about 5 years before it starts to shrink and crack. Inspect twice a year—spring and fall—and replace any sections that show gaps or separation. Scrape out the old material completely before applying new caulk; adding new over old just delays the same failure.
Control indoor humidity
Keep indoor humidity between 30% and 50% to prevent condensation from forming on window surfaces. Run kitchen and bathroom exhaust fans during and after cooking and showering. Opening windows briefly on dry days also helps. In problem areas, a dehumidifier makes a measurable difference.
Choose rot-resistant materials for replacements
If a sill needs full replacement, the material choice determines how long before this happens again. Cedar and redwood have natural decay resistance. White oak’s dense cellular structure slows moisture absorption. For maximum durability, cellular PVC or fiber cement sill material eliminates the wood rot problem entirely—neither absorbs moisture.
Bottom Line
A rotted window doesn’t necessarily mean it needs to be completely replaced. if you notice a rot before it reaches the frame or jambs, it can still be saved. The repair is divided in 3 steps: removing the trace of decayed wood, using two-part epoxy and making sure the wood is dry enough to bond before you start filling.