Wooden floors are forgiving in ways most materials aren’t. Even if you left your hardwood floor without proper care for a decade—you can still reawaken it. This article will walk you through the restoration routine.
Diagnostic Tips
The water test. Put a few drops on the surface—if they soak within seconds, the finish is gone and refinishing is necessary. If they stay, the protective layer is still alive.
Detecting scratches. Surface scratches respond well to buffing or a light sand-and-recoat. Deep scratches that expose raw wood require refinishing.
Grey discoloration along walkways. It’s bare wood fiber that’s been absorbing moisture, meaning the finish has worn through completely in those areas.
Rounded board edges. When you crouch down and look along the floor at a low angle, edges that have softened or rounded off indicate previous heavy sandings—worth knowing before you commit to another aggressive pass.
Soft spots or bounce underfoot. This usually points to subfloor issues or water damage below the boards, not surface wear. A refinish won’t fix it.
Screening or Full Sanding
| Screen & recoat | Full sand & refinish | |
| Best for | Dull finish, light surface scratches, even wear | Deep scratches, worn-through finish, stains, color change |
| Wood removed | None. Finish layer only | Approx. 1–2mm (≈0.04–0.08″) of wood surface |
| Equipment | Buffer + abrasive screen | Drum sander, edge sander, buffer |
| Skill level | Beginner | Intermediate |
| Time | 1 day | 3–5 days |
| DIY cost (500 sq ft) | $150–$300 (materials & rental) | $1,170–$1,970 |
| Pro cost (500 sq ft) | $500–$1,200 | $1,500–$4,000 |
| Fixes grey walkway discoloration | No | Yes |
| Changes floor color | No | Yes (with stain) |
| How often possible | Every 3–5 years | Every 7–8 years |
Equipment
Tools For Rent
- Drum sander—a tool that covers the main floor area. It requires a careful hand; tilting it or pausing with the drum down can create permanent grooves.
- Edge sander—an orbital disc sander that handles the perimeter where the drum cannot reach. Keep it moving constantly.
- Floor buffer—a machine used for a final smoothing pass and for applying finish with a lambswool pad.
Most rental shops stock these. Expect to pay roughly $60–$80/day for the drum sander and somewhat less for the edge sander, though rates vary by region and rental company.
Sandpaper Grits
Make a test patch before sanding the whole floor. You can use these grits for most floors with standard wear:
- 36-grit—starting grit.
- 60-grit—transitional pass.
- 80-grit—pre-finish smoothing.
- 100-grit—final pass.
Finish Options
- Oil-based polyurethane. Slow drying (up to 24 hours between coats), tone that deepens with time, highly durable, requires good ventilation due to fumes.
- Water-based polyurethane. Dries fast (2–4 hours between coats), stays clear, lower odor, typically requires one additional coat compared to oil-based.
Safety Gear
A dust mask rated N95 or higher, safety goggles, and hearing protection. When applying oil-based finishes, a respirator rated for organic vapors is worth the small extra cost. Cover all HVAC vents, including returns before sanding begins.
Restoration Process
Step 1: Preparation
Everything comes out—furniture, rugs, curtain rods if they’re close to the floor. Vacuum thoroughly, then walk the whole floor and hammer down any raised nail heads. Pull the shoe molding (the thin strip at the base of the walls) carefully with a pry bar, numbering each piece as you go so reinstallation is straightforward.
Step 2: Fix What Needs Fixing Before Sanding
Squeaking boards can often be silenced by screwing them down from above and countersinking the screw, then filling the hole. Gaps between boards are trickier—don’t fill them with standard wood filler before sanding. The filler will pop out later as the boards move with seasonal humidity changes. Wait until after rough sanding, mix the resulting fine wood dust from your collection bags with a gap filler compound, and pack it in diagonally across the grain.
Step 3: Sand the Main Field
Load your starting grit, lower the drum only while already moving at a slow walking pace, and follow the natural grain direction. Overlap each pass by roughly a third of the belt width. Empty dust bags when they reach about one-third full—suction drops off noticeably when bags overfill, and you’ll end up with uneven results.
Step 4: Edge-Level Sanding
Switch to the edge sander for the perimeter. Run it in small overlapping arcs, moving left to right, without pressing down with your body weight. The machine’s own weight provides the pressure needed. Keep it moving; stopping in one spot gouges the floor.
Step 5: Stain (If Needed)
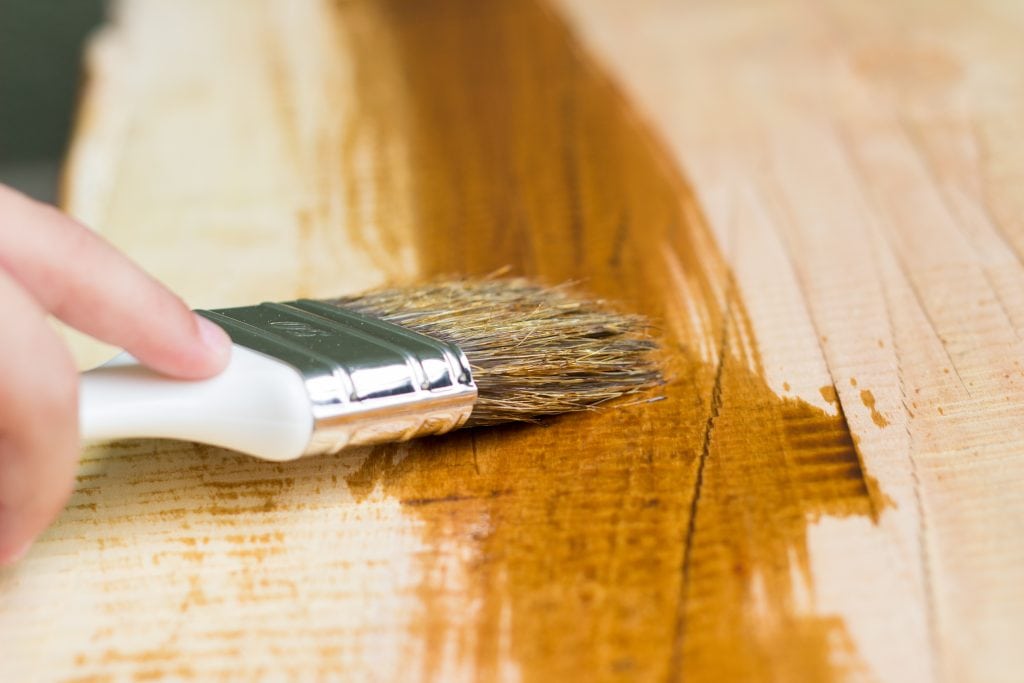
Mix all containers of the same stain batch together in one bucket—color consistency varies slightly between cans, and mixing prevents visible seam lines.
The longer you leave it before wiping, the deeper the color. Let the stained floor dry fully before sealing. Check the stain manufacturer’s recommendations, but 24 hours is a reasonable minimum.
Step 6: Apply Finish
Apply three coats of oil-based polyurethane or four coats of water-based, using a lambswool applicator for smooth, even coverage. Work in the direction of the grain. Between each coat, once dry, sand lightly with 180–220 grit and vacuum thoroughly.
What Can Go Wrong
- Overworking the surface of engineered flooring. Engineered hardwood has a real-wood veneer over plywood—typically 4mm (≈ 0.16″) thick . A drum sander can cut through it faster than you expect. If your floor is engineered, confirm the veneer thickness before deciding whether it can handle sanding at all.
- Filling expansion gaps. The gaps between boards and along walls exist for a reason. Wood moves with humidity changes throughout the year. Fill those gaps with solid material and you’ll hear the results—or find the filler popping out the following spring.
- Applying finish over residue. If you’re not certain what products have been used on the floor over the years, do a small test area. Apply finish, let it dry completely, then try to scratch it off. If it peels or flakes, you have a bonding problem that will require additional prep before doing the full floor.
- Rushing grit progressions. It’s tempting to jump from 36-grit straight to 80 to save time. The result is visible scratches under the finish that catch the light at an angle and are impossible to fix without another full sand.
When to Call a Pro
- Water damage that’s soaked through to the subfloor.
- Pet stains that have soaked deep into the wood.
- Wax-finished floors that need chemical stripping before accepting modern polyurethane.
- Floors that are cupped or warped—the cause needs to be addressed before refinishing makes any sense.
- Engineered floors with thin veneers where margin for error is minimal.
Conclusion
Restoring wooden floors is one of the more satisfying home projects—solid hardwood that’s been through decades of foot traffic often has more character after restoration than it did originally. Go methodically through the grit sequence, don’t rush the finish coats, and you’ll have a floor worth keeping for another decade.