Hardwood floor gaps can be frustrating because most homeowners don’t realize that the right fix depends entirely on understanding what’s causing those gaps in the first place—and whether they actually need filling at all.
Why Hardwood Floors Gap
Wood absorbs and releases moisture based on the air around it. Heating systems dry out indoor air during winter, and that dry air pulls moisture out of your floorboards. Less moisture means the boards shrink slightly across their width.
Come spring and summer, humidity rises, the wood takes on moisture again, and those gaps close on their own. Indoor relative humidity during winter often drops to 20–30%, while summer levels commonly sit between 50–70%. That swing is enough to open and close visible gaps in a typical floor.
Beyond seasonal movement, gaps can also come from installation problems. Hardwood that wasn’t given enough time to acclimate to your home’s humidity before being laid down will continue moving after installation—often more dramatically than expected. Proper acclimation can take up to two weeks. Poor nailing technique and subfloor irregularities are other culprits that create permanent gaps that won’t close up in summer the way seasonal ones do.
Understanding if You Should Fill the Gaps at All
Before buying any product, spend a season watching your floor. Gaps that open during dry winter months and close when humidity returns in spring are completely normal. They don’t need filling. Filling seasonal gaps can have negative consequences. When the boards try to expand back, they have nowhere to go and can buckle or cup.
If the gap is narrower than a dime’s thickness and disappears on its own when the weather warms up, leave it alone. Run a humidifier to keep indoor humidity between 35% and 55% in winter. It will reduce the size of seasonal gaps.
Fill gaps that stay wide year-round and collect dirt and grit. Gaps wider than about 1/4 inch that don’t close seasonally are worth addressing—both for appearance and because dirt and debris that work their way in can eventually damage board edges.
Reading the Gap Size
Measuring before you buy anything saves time and money. Gap size determines both the right material and the technique.
Small gaps (under 1/8 inch): nail holes, minor cracks, and gaps that are visible but not deep enough to trap debris.
Medium gaps (1/8–1/4 inch): wide enough to be genuinely noticeable and to accumulate grit, but not so wide that they’ve started to compromise the floor’s structural feel.
Large gaps (over 1/4 inch): significant separations that require a more substantial fix.
Which Filler to Use
Wood Filler
For gaps under 1/8 inch on unfinished or soon-to-be-sanded floors, wood filler is the right option. Products in this category penetrate deeply, bond tightly to the wood, and can be sanded flush and stained after drying. Drying time ranges from 15 minutes to around 6 hours depending on how deep the gap is. A 16-ounce package typically costs $10–$15 and handles a substantial area.
One important distinction: wood filler and wood putty are not the same thing. Filler hardens completely and can be sanded and stained—it’s what you want for unfinished wood or floors you’re refinishing. Putty stays slightly pliable, making it better suited for finished floors where no sanding will happen, but it can’t be stained to match.
Natural Rope
For gaps between 1/8 inch and 1/4 inch, natural fiber rope is an effective and flexible solution. Unlike rigid fillers, rope compresses and expands with seasonal wood movement instead of fighting it.
The process: measure the gap width and select rope slightly thicker than the opening. Soak it in carpenter’s glue or pre-stain it to match the floor, then press it into the cleaned gap using a putty knife until it sits flush or just slightly below the surface. This is a centuries-old technique used in older homes for exactly this reason—it works with wood movement instead of against it.
Wood Slivers
Gaps over 1/4 inch need something with more body—wood strips, sometimes called Dutchman patches or slivers. These are tapered wedges cut from matching wood species that get glued into the gap and trimmed flush. Pre-cut pine slivers are available in roughly 3-foot lengths for gaps starting around 1/8 inch and up.
A Dutchman repair is nearly invisible. Apply a thin bead of wood glue to both sides of the strip, press it snugly into the gap narrow-side down, and tap it flush with a rubber mallet. Let the glue cure fully before sanding and refinishing.
Flexible Caulk
Flexible wood caulk in a matching color can work for seasonal-movement gaps where you want something that won’t crack—but there’s a real trade-off. It is a reasonable choice for a quick cosmetic fix, but not ideal if you want a long-term, refinishable result.
Sawdust-and-Glue Trick
This old standby gets recommended online constantly, and it keeps producing disappointing results. The problem is structural: sawdust consists largely of end-grain fibers, which absorb stain and finish at a completely different rate than the face grain of your floorboards. The result is always darker patches that stand out noticeably against the surrounding wood. Add to that the fact that glue seals the surface and prevents proper stain penetration, and you’ve created a repair that’s more visible than the gap was. Skip it.
How to Fill Hardwood Floor Gaps
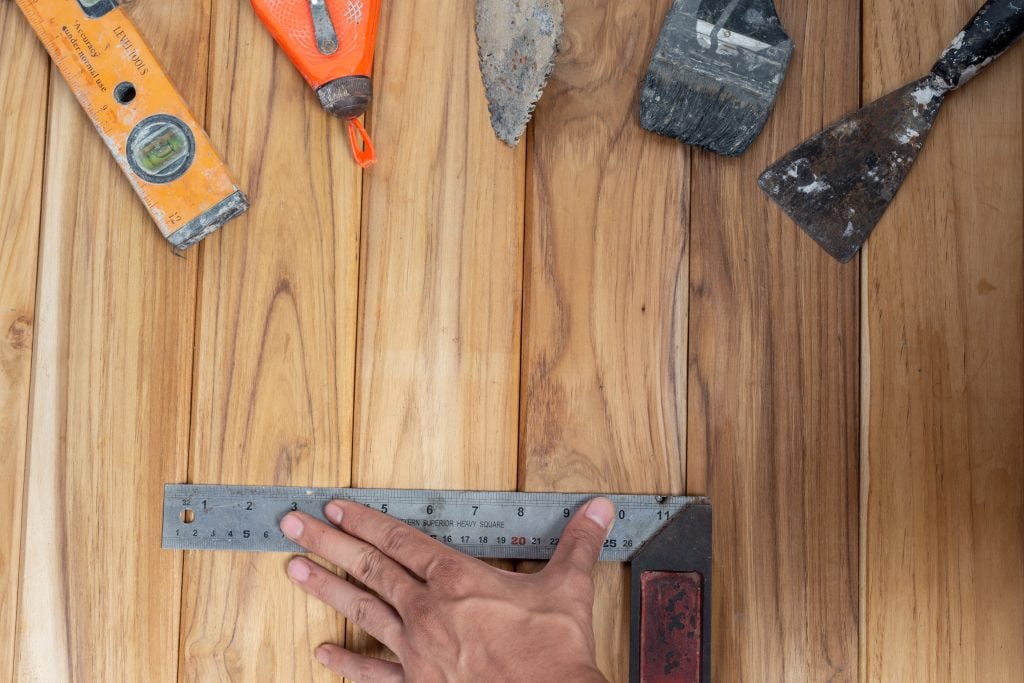
Clean the Gap
Start by removing any dirt or debris trapped in the gap. A putty knife or a dull multi-tool blade works well for loosening compacted material. Once it’s cleared, vacuum the area with a crevice attachment to pull out any remaining dust and debris. Avoid sweeping, as it often pushes dirt deeper into the gap. If the debris is especially stubborn, a quick blast of compressed air can help loosen it before vacuuming. Taking the time to clean the gap thoroughly is worth the effort, since fillers and adhesives won’t bond properly to a dirty surface.
Match Your Filler to the Gap Size
Use the measurements from earlier. Don’t try to force a rigid filler into a medium or large gap thinking it’ll hold—it won’t move with the wood and will crack within a season or two.
Apply the Filler
Press material into the gap rather than skimming across the top. Focus on filling the entire gap rather than masking the top. For wood strips, apply glue to both surfaces and tap the strip snugly into place with a rubber mallet. If you’re using rope, pack it firmly into the gap with a putty knife until it’s flush with the floor or slightly recessed.
Leave a very slight mound of filler above the floor surface—most products shrink as they cure, and underfilling is the most common amateur mistake. You can always sand excess off; you can’t add material after it’s set.
Level and Wipe
Scrape away excess with a putty knife and wipe the surrounding area with a lightly damp cloth before everything dries. Dried filler residue on the finished floor surface is harder to remove cleanly.
Sand Smooth
Once fully cured, sand with 120-grit sandpaper until the repair sits flush with the surrounding boards. Vacuum the dust, then assess the color match before applying stain.
Stain and Seal
Apply a matching stain if needed, let it dry completely, then finish with polyurethane or whatever topcoat the rest of the floor has. Feather the edges slightly so the repaired area blends rather than sitting as a distinct patch.
Common Mistakes
Choosing rigid filler for a floor that still moves seasonally. Even high-quality wood filler is harder than the wood around it. When boards expand against that rigid material in summer, the filler can crush the plank edges—potentially creating a worse gap than the one you started with. Use flexible materials in areas with seasonal movement and reserve rigid fillers for permanent gaps.
Skipping the observation period. Filling a gap in December without knowing how the floor behaves in June is a gamble. Wait, watch, then decide.
Ignoring the subfloor. A floor that feels spongy near the gaps or bounces underfoot is usually a sign of something deeper than normal wear and tear. While subfloor and joist problems aren’t visible from the surface, a flooring expert can quickly determine whether there’s an underlying structural issue.
Time to Call a Pro
DIY gap filling makes sense for permanent cosmetic gaps on structurally sound floors. But there are situations where attempting a repair yourself can mask a problem that’s actually getting worse:
- Gaps that continue widening from one season to the next.
- Boards that cup along their edges (edges higher than center) or crown (center higher than edges) near the gaps.
- Visible warping or boards that feel hollow underfoot.
- Gaps that appeared after a water leak, flooding, or persistent moisture problem.
Professional hardwood floor gap filling runs roughly $2–$6 per square foot for small gaps. If sections need to be replaced entirely, expect $7–$25 per square foot.
The National Wood Flooring Association (NWFA) certifies flooring contractors—it’s a reliable credential to look for when choosing someone for a more complex repair.
Gap Size vs. Best Fix
| Gap Size | Best Material | Notes |
| Under 1/8 inch | Wood filler or putty | Filler for unfinished/refinishing; putty for finished floors |
| 1/8–1/4 inch | Natural fiber rope | Expands with seasonal movement |
| Over 1/4 inch | Wood slivers / Dutchman strips | Cut from matching species; nearly invisible when done well |
| Seasonal gaps | Nothing—or flexible caulk | Monitor first; rigid fillers will crack |
The Bottom Line
The gap itself isn’t always the problem—it’s often just the floor telling you something about humidity or installation. Get in the habit of observing your floor through at least one full seasonal cycle before filling anything.
For anyone dealing with wide, permanent gaps across multiple boards, a professional assessment before starting work is money well spent.