

In this guide
- Why Wood Species Changes Everything
- Test on Your Real Floor, Not a Showroom Sample
- Light or Dark: What You're Really Choosing
- Oil-Based vs. Water-Based Finish
- Getting the Room Ready
- Sanding: Where Most DIY Jobs Succeed or Fail
- Cleaning, Filling, and Water Popping
- Applying the Stain
- Drying and Curing Times at a Glance
- Sealing the Floor
- Keeping Your Floors Looking Good Long-Term
- Time to Refinish Again
- Conclusion
Wrong color choice, skipped prep, sloppy application—any one of these can wreck a hardwood staining job. This guide walks through all four stages that matter: choosing color, prepping the wood, applying stain cleanly, and sealing it for the long haul.
Why Wood Species Changes Everything
The same stain can look very different depending on the wood underneath.
- Red oak—warm, pinkish undertones bleed through lighter stains, which is why “natural” red oak often photographs pink instead of honey-toned.
- White oak—more neutral base, takes cool tones and greige shades well.
- Maple—absorbs stain unevenly, prone to blotching without a wood conditioner.
- Pine—soft and absorbent, goes noticeably darker around knots.
Know your species before you open the can.
Test on Your Real Floor, Not a Showroom Sample
Those little stain chips at the hardware store tell you almost nothing useful. The only reliable test is staining a patch of your actual floor after it’s been sanded—at least 18×18 inches. People who test on a 4-inch scrap almost always end up unhappy once the whole room is done.
Check the test patch both in the morning and in the evening. Keep in mind that wet stains always look darker than the final dried result, so don’t make any calls based on that first impression. Give it a full day to dry first.
Light or Dark: What You’re Really Choosing
| Light stain | Dark stain | |
| Shows dust & pet hair | Hides it well | Shows it fast |
| Visible scratches | Less noticeable | High contrast, very visible |
| Effect on room size | Makes small rooms feel bigger | Adds depth, can feel cozier/smaller |
| Best suited for | Kids-, pet-, and traffic-heavy households | Low-traffic, design-focused spaces |
| Maintenance effort | Lower | Higher |
Oil-Based vs. Water-Based Finish
Oil-based polyurethane develops an amber tint over time (“ambering”)—great with warm browns, but it can clash with gray or cool-toned stains. Water-based polyurethane stays clear permanently, making it the better pick for gray, white-washed, or any cool tone you want preserved exactly as tested.
Getting the Room Ready
Before any sanding starts:
- Clear out all furniture, rugs, and decor.
- Tape plastic sheeting over vent covers to protect your HVAC system.
- Seal doorways with plastic drop cloths to contain dust.
- Pry off shoe molding carefully and number each piece for reinstallation.
Sanding: Where Most DIY Jobs Succeed or Fail
This is the step people rush, and it shows. Flooring pros and rental-equipment guides consistently point to a standard grit progression for stripping old finish and prepping bare wood:
| Grit | Purpose | Notes |
| 36 | Strip old finish, remove deep scratches | Standard starting point for most floors |
| 60 | Smooth out 36-grit scratch marks | Doesn’t remove much wood |
| 80 | Final pass for most standard floors | Where the floor “looks like a floor again” |
| 100–120 | Final pass before staining | Recommended for oak, maple, or any stained floor |
Always sand with the grain, use overlapping strokes covering at least a third of the belt width, and swap belts every 250 square feet. Skipping a grit step is the single most common reason floors end up with visible scratch lines once stain goes down.
Cleaning, Filling, and Water Popping
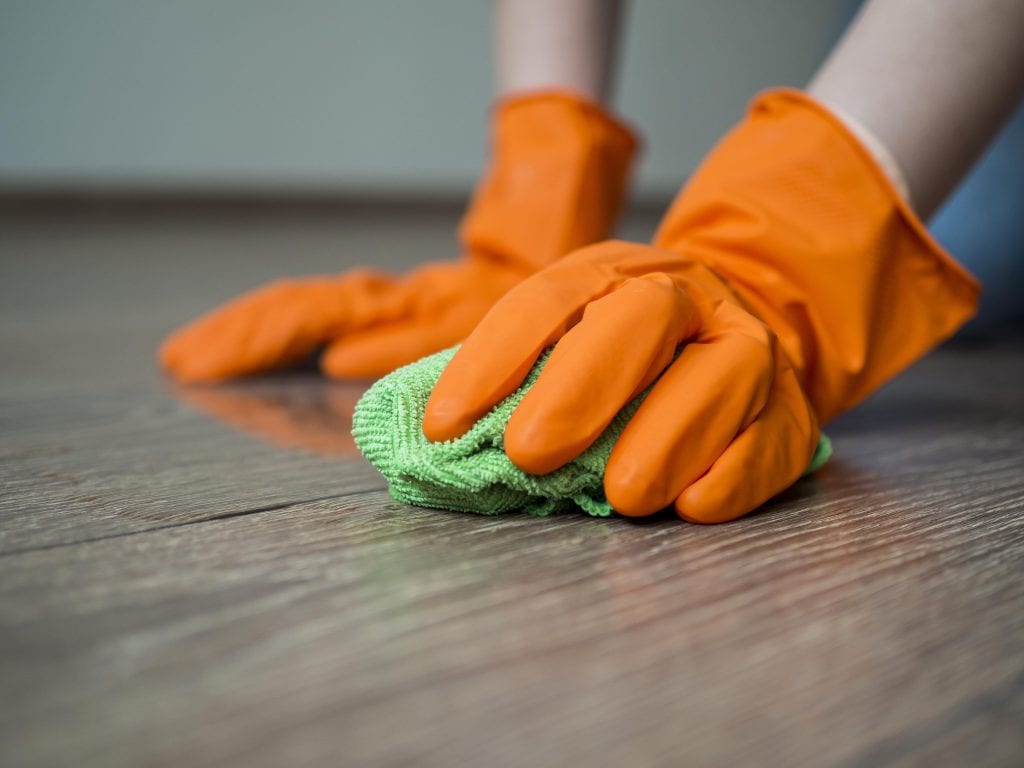
- Clean: HEPA shop vacuum first, then a dry microfiber cloth—skip the mop, since water on bare wood causes uneven swelling.
- Fill: match wood filler to your floor’s tone, and fill before the final fine-grit sanding pass, not after staining.
- Water pop (optional): mist distilled water over sanded wood to open the grain for deeper, more even color—especially useful on maple and pine. Dry time ranges 30 minutes to overnight depending on humidity.
Applying the Stain
Cotton rags—lint-free ones—beat a brush here, since they won’t leave any stroke marks behind. Work in the direction of the grain, and start at the point farthest from your exit so you’re not painting yourself into a corner. As you move along, overlap each new section slightly into the last one before it dries—that’s your “wet edge,” and it’s what keeps you from getting a visible seam where two sections meet. Let the stain soak in for 5 to 15 minutes (longer if you want a deeper color), then wipe off whatever’s left with a clean rag.
Drying and Curing Times at a Glance
Based on manufacturer and industry guidance:
| Stage | Water-based | Oil-based |
| Dry before recoat | 2–4 hours | 8–24 hours |
| Minimum wait before topcoat | 24 hours | 24 hours |
| Time between poly coats | 2–8 hours | 4–24 hours |
| Full cure time | 7–14 days | 7–28 days |
| Walk on (socks only) | ~24 hours | 24–48 hours |
| Furniture back | 24 hours | 5–7 days |
| Rugs back down | 1–2 weeks | 1–2 weeks |
Sources for the table data: Lumber Grand, General Finishes, Flowyline, Bob Vila.
Sealing the Floor
Two to three thin coats of polyurethane is the sweet spot. After the first coat sets for roughly 24 hours, lightly sand with 180–220 grit paper to knock down drips, wipe clean, then recoat.
Keeping Your Floors Looking Good Long-Term
- Sweep or vacuum daily with a soft-bristle attachment.
- Wipe up spills immediately.
- Use felt pads under furniture legs.
- Place mats at entryways to trap grit before it reaches the floor.
- Damp-mop weekly with a pH-neutral hardwood cleaner—don’t oversaturate.
Time to Refinish Again
Industry guidance generally puts full refinishing on a 7–10-year cycle for average traffic, with lower-traffic rooms stretching longer and pet/kid households needing it sooner. A lighter “screen and recoat”—refreshing the finish without sanding to bare wood—is often recommended every 3–5 years as cheaper maintenance in between. Watch for dullness that won’t buff out, deep scratches reaching bare wood, or dark water stains as your signal that it’s time.
Conclusion
Test the color on your own floor, work through every grit instead of skipping ahead, keep that wet edge going while you stain, and give the cure time the full wait before furniture goes back in. Stick to that, and the floor will still look right a year from now — not just for the first week before reality sets in.
Sources
Every external claim in this guide links to its origin. Collected automatically from the text above.
- point to a standard grit progression — peteshardwoodfloors.com
- Lumber Grand — lumbergrand.com
- General Finishes — generalfinishes.com
- Flowyline — flowyline.com
- Bob Vila — bobvila.com
- 7–10-year cycle — buffandcoatvirginia.com
- 3–5 years — bigbrohardwood.com

John Adams
John writes about home systems — HVAC, plumbing, electrical, and water heaters — for Decor Modern. His articles help homeowners understand the infrastructure behind their walls before something breaks and the repair bill arrives. John's background is in residential maintenance and facilities management. He spent six years overseeing day-to-day upkeep of multi-unit residential properties, handling everything from boiler failures to bathroom renovations. He was responsible for maintaining building systems across multiple residential units, including HVAC, plumbing, and electrical infrastructure. He learned the hard way that most homeowner emergencies start as small problems that nobody noticed in time — which is why his articles focus as much on diagnosis and prevention as on repair. His experience includes diagnosing system failures, coordinating repairs, and managing preventative maintenance to avoid costly emergencies. On Decor Modern, he's the author of the HVAC 101 and Plumbing 101 guides, the water heater warning signs article, and the bathroom renovation cost breakdowns. His approach: explain the system first, then the fix, then the cost. In that order. He focuses on helping homeowners recognize early warning signs before small issues turn into major repairs. John is based in North Carolina, where summer humidity gives him no shortage of material to write about.